
Overview
To start the training process, locate the model you want to train from the list presented in the MODELS tab of the Xdeep Core panel in the console and double-click on i3. After a warning that the model is not trained, you are transferred to the Train/Publish Model tab, where most of the work will be done.
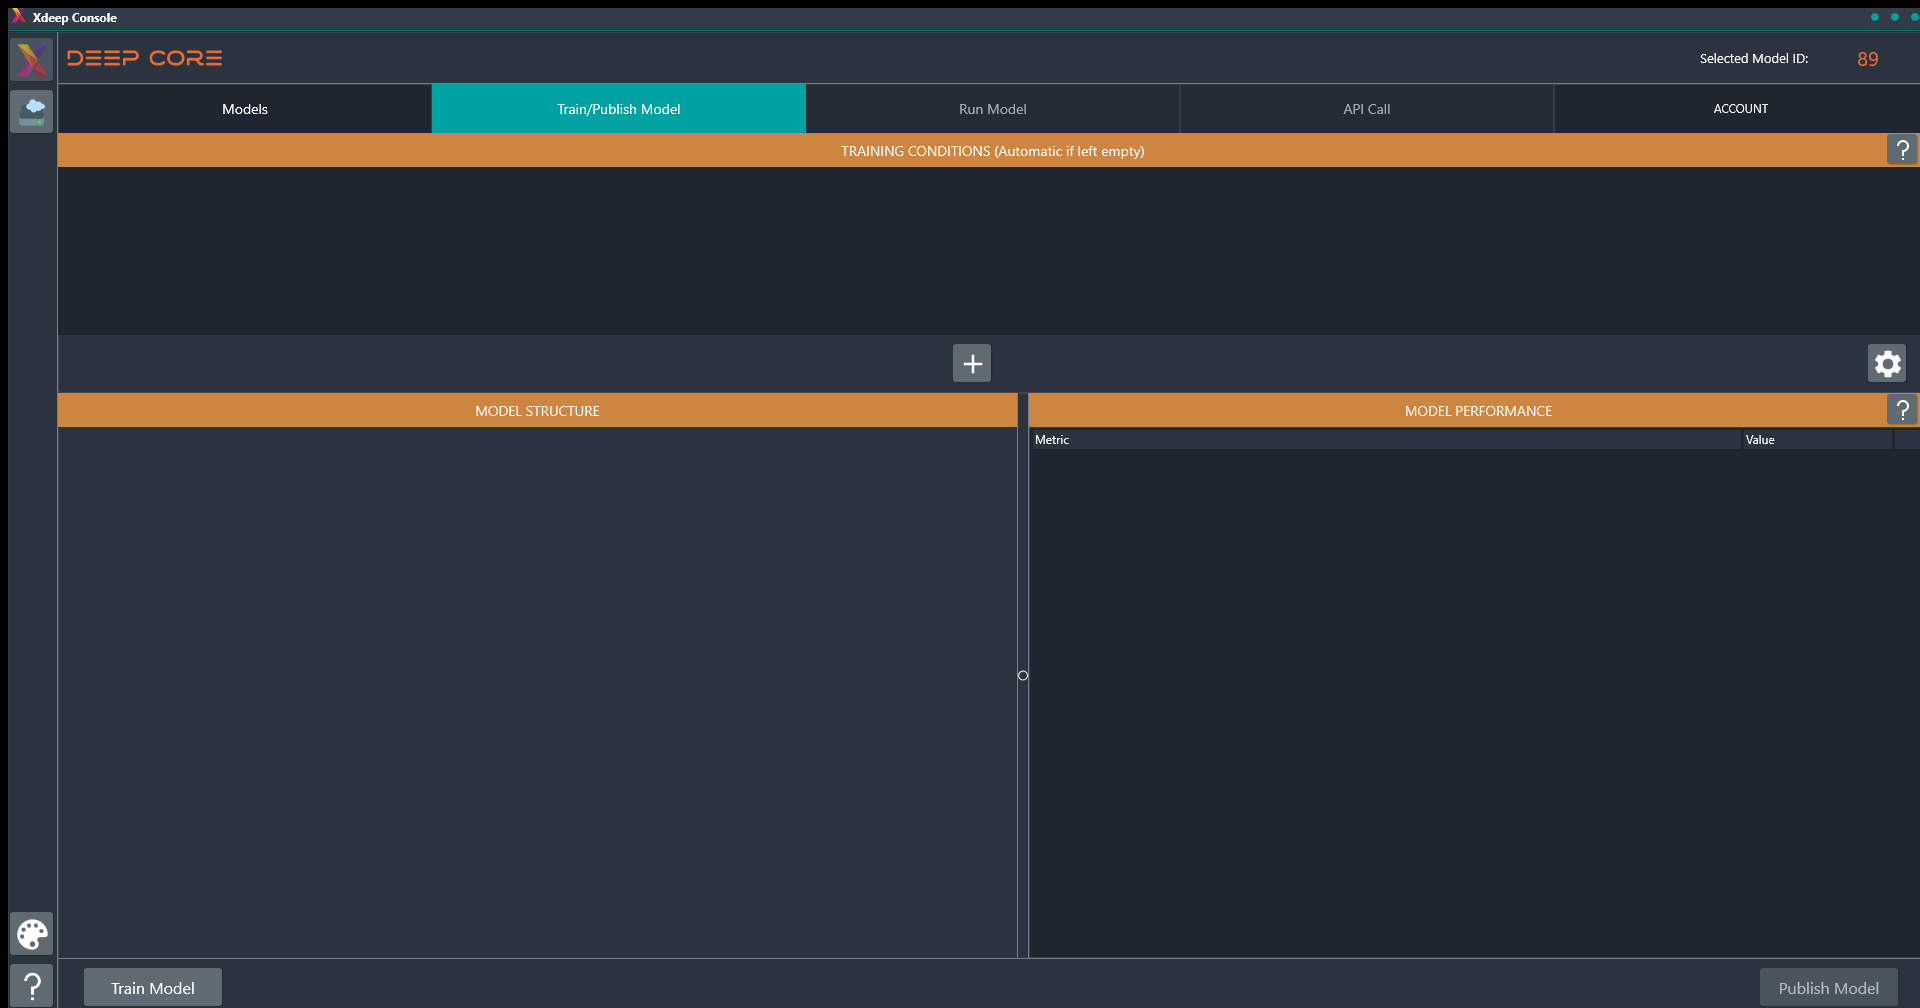
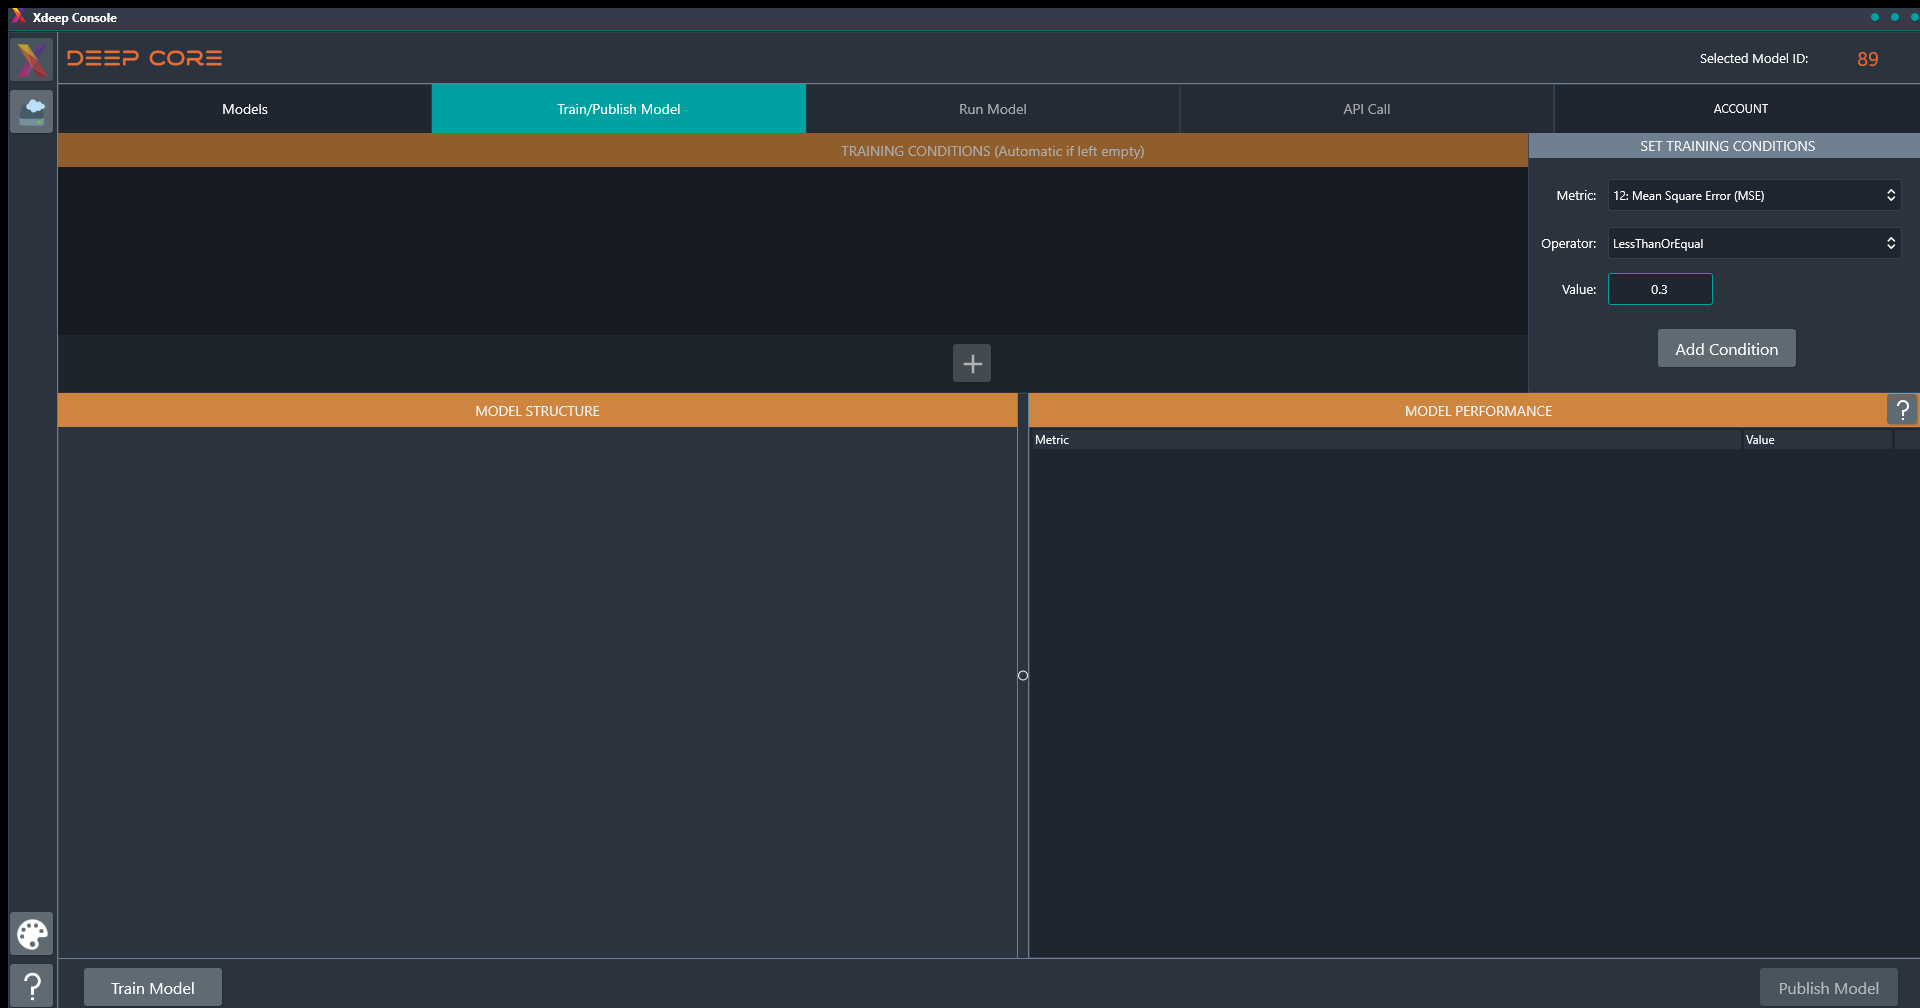
The first step is to define the training conditions that you want to use. You can leave this blank, at which case Xdeep will employ the automatic training mode. Alternatively, you can click on the + button to bring the SET TRAINING CONDITIONS form to the front. From there, you can specify the performance metric that you want to use for setting the completion criteria, and the condition that the metric should meet to complete the training process.
When you're set, click on the Train Model button at the bottom left of the panel. The console will inform you that the training process for the model has started.
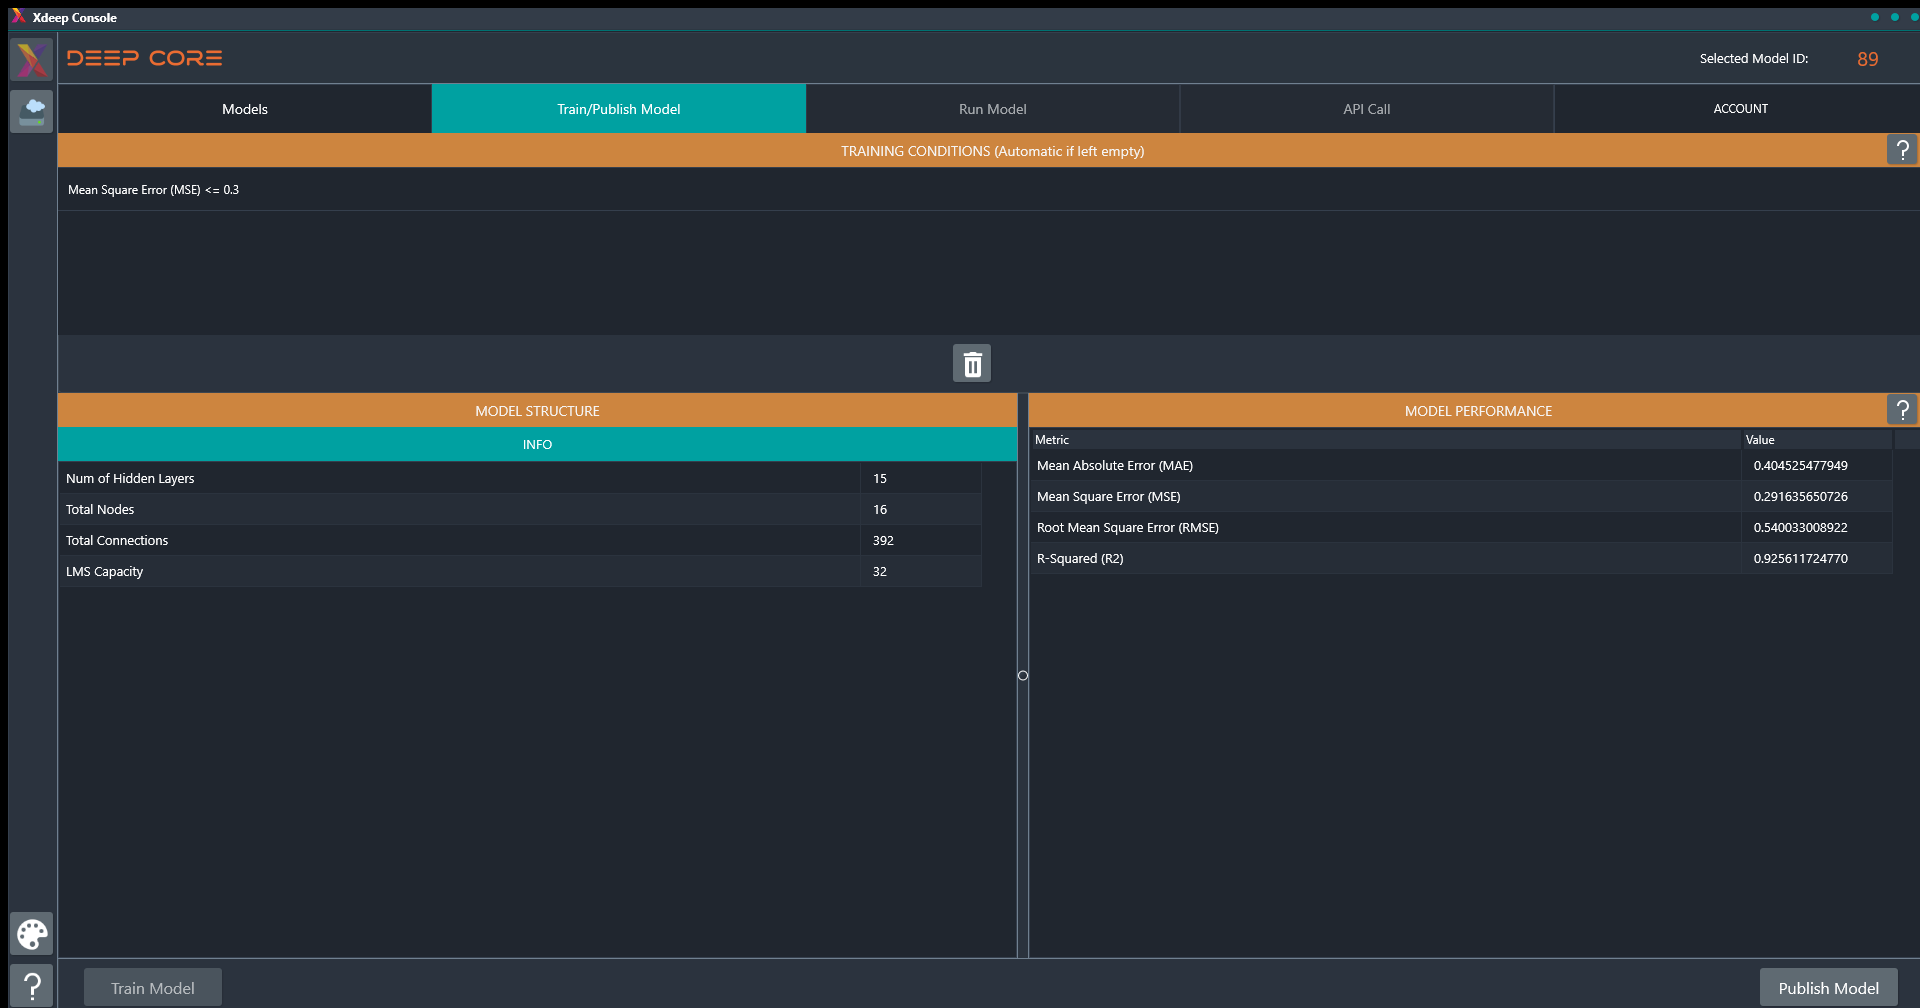
At any time, you can return to the Models panel and click on the refresh button at the bottom left to update your models' status. When the training process is completed, the model entry will be updated. A green training icon will be displayed if the training was successful, along with information for the structure and the performance of the produced network. If something went wrong, a red alert icon and a notification message will be displayed instead.

Double-click on a successfully trained model to be transferred back to the Train/Publish Model tab. Now, the Publish Model button at the bottom right of the panel is active.
Just click on the button to publish the model. You are then transferred to the Run Model tab, from where you can validate your model with unknown data.
Demo Model Training
Using the models created with the available demo file for regression, train a model using the automatic mode (leave the training conditions blank as described above). You can also try out the manual configuration, setting the MSE to be less or equal than 0.3 as the training condition.