
Overview
Model creation is carried out from the Xdeep Core panel within the Xdeep Console application. Click on the Xdeep logo at the right sidebar of the console to bring the Xdeep Core panel forward. The panel contains four tabs, with the Models tab displaying a list of your models with information on their status and performance characteristics.
To create a new model, click on the + button at the bottom of the panel. The NEW MODEL form appears.
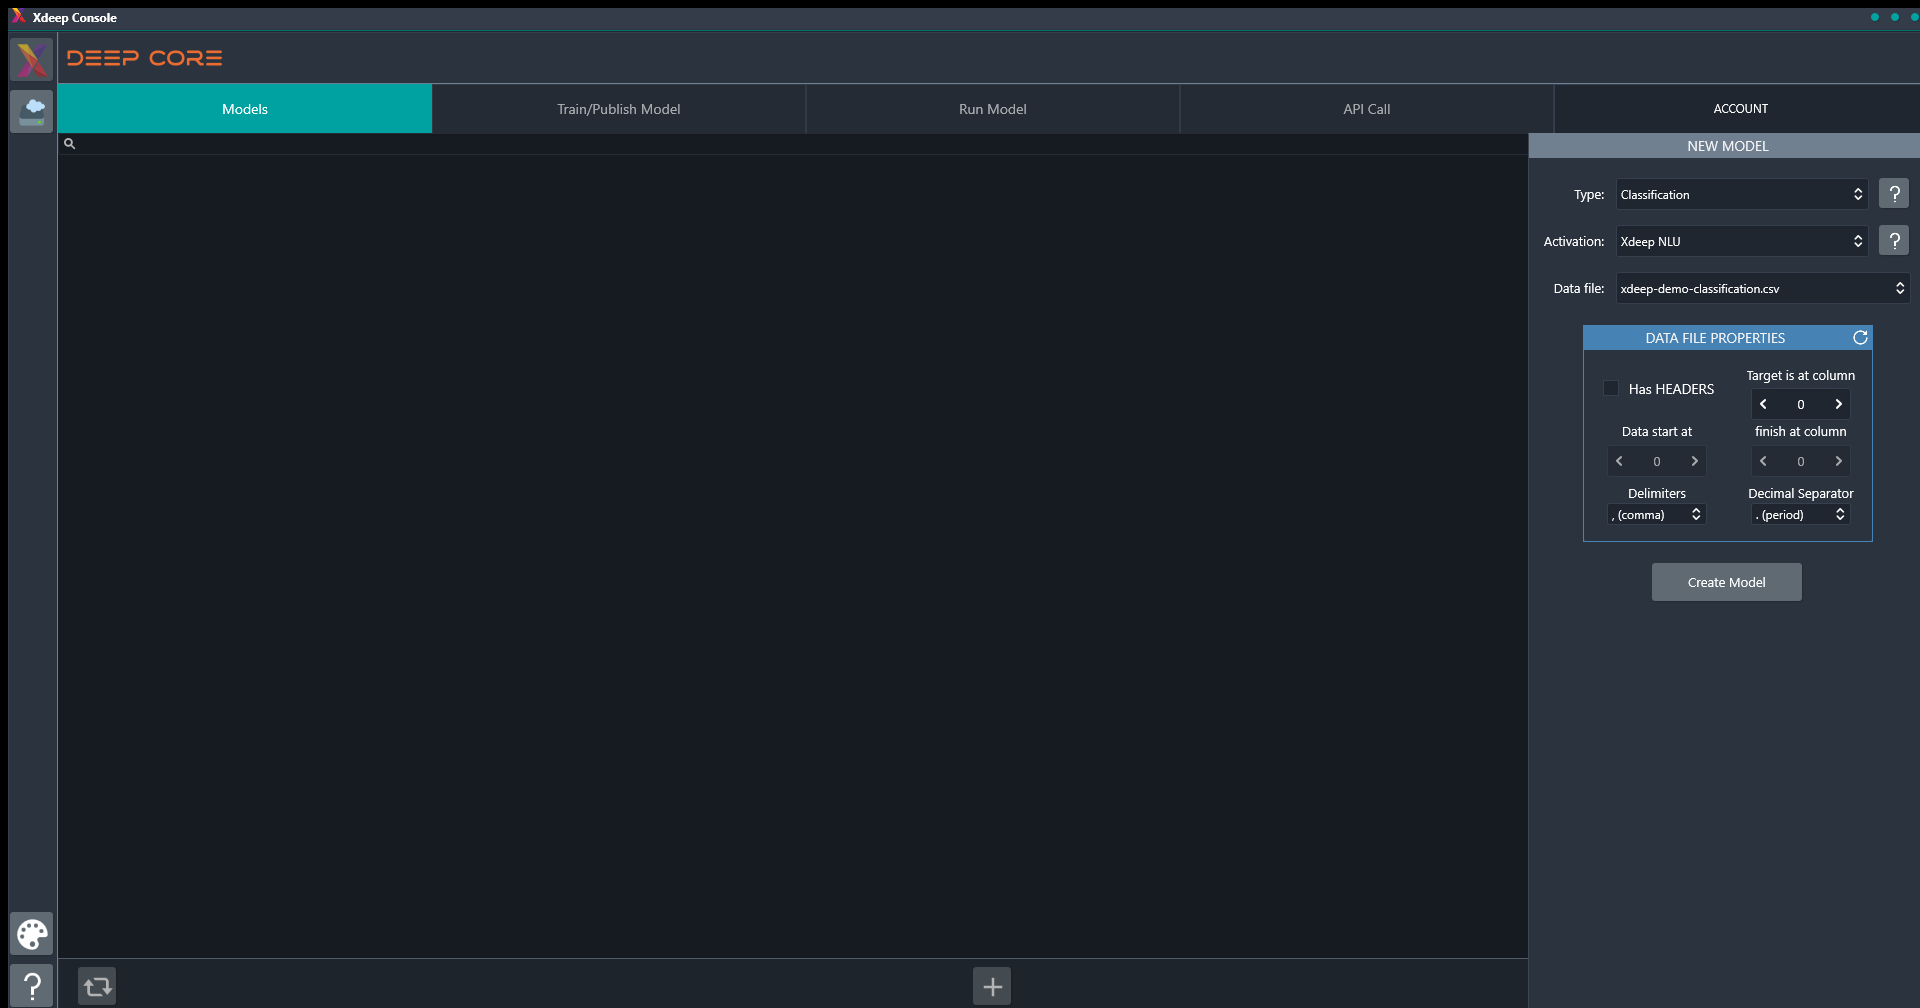
From there, you set the parameters that you want to set for your model:
Specify the problem type that your model will handle.
Select the activation function that your network will use.
Specify the data file that will be used for training the model from the files available in your Xdeep Cloud Storage.
You must also describe the structure of your training data so Xdeep can process them correctly:
Specify if the selected CSV file includes headers.
Specify the index of the column in the CSV file that contains your target variable.
Specify the column range in the CSV file that contains your input variable. Note that your input variables must be in consecutive columns in the file.
Specify the column delimiter used in the CSV file, as well as the character used as the decimal separator in your data.

When everything is in place, click on the Create Model button. The new model is created and added to the list of models in the Models tab.
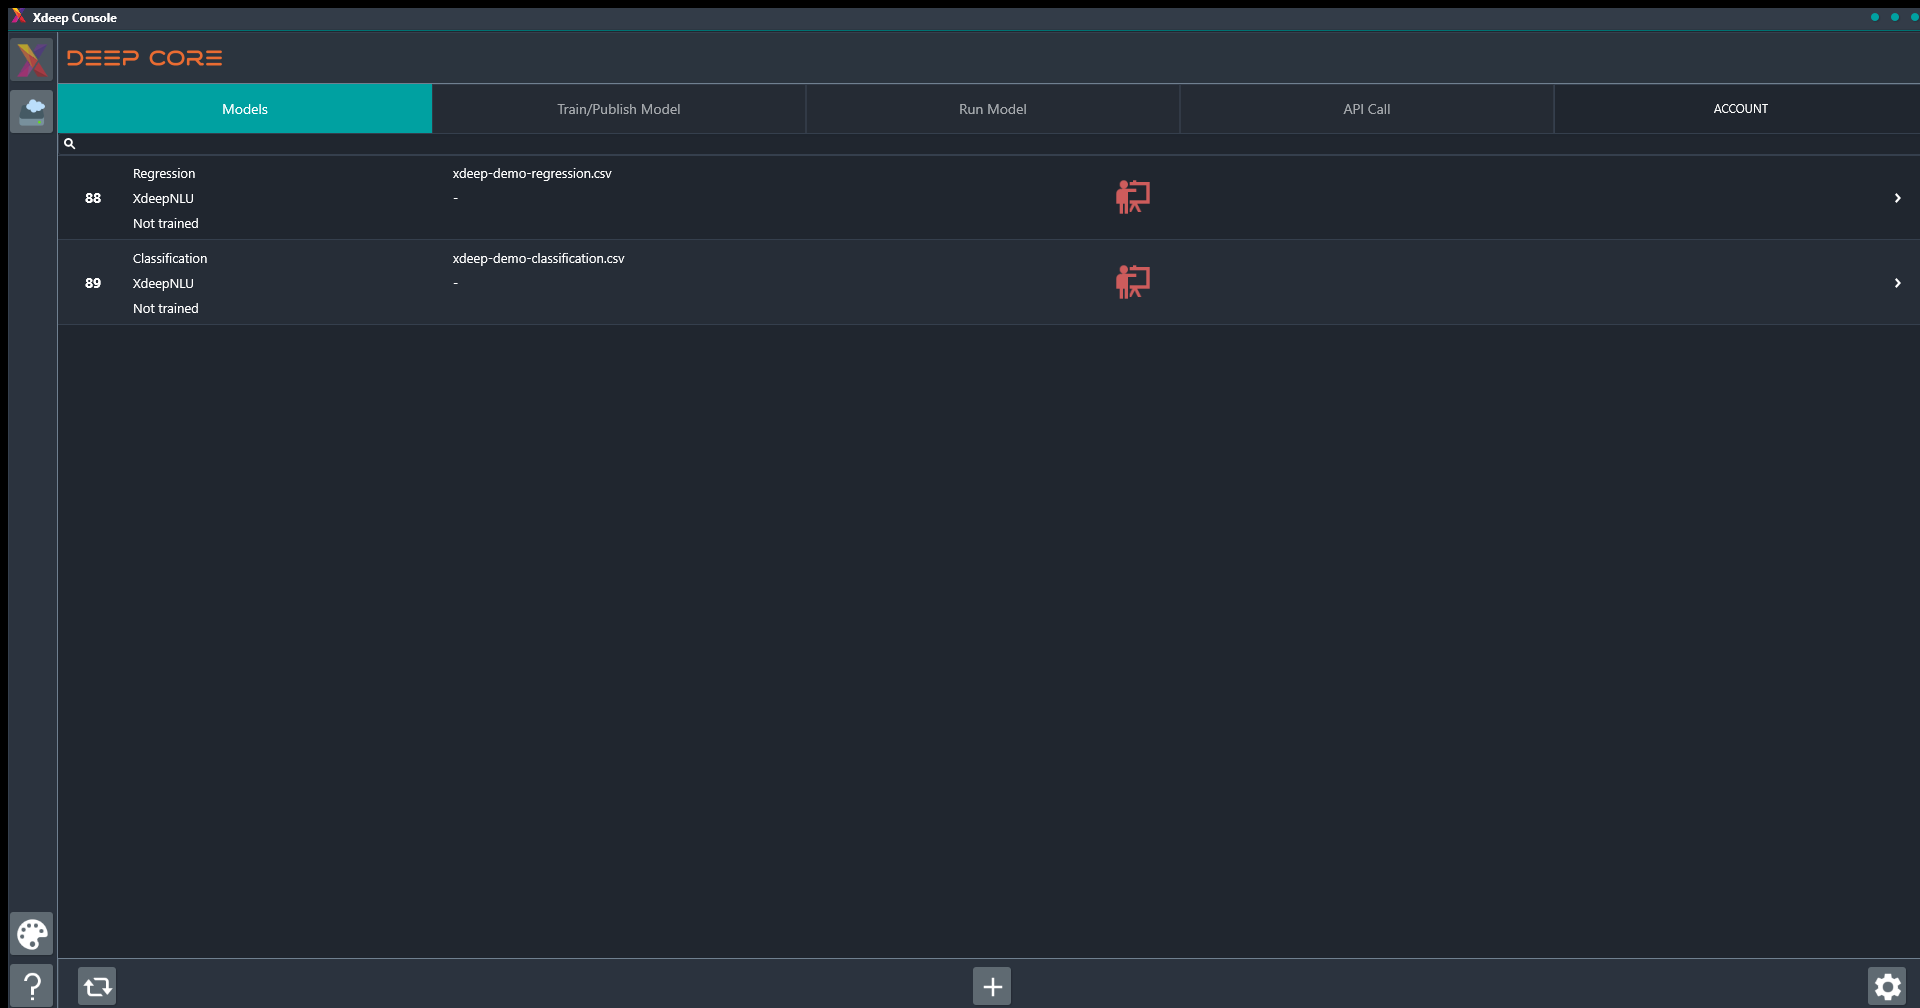
Demo Model Creation
Using the demo files provided with Xdeep, you can create one regression and one classification model. As per the instructions above, use the xdeep-demo-regression file to create a regression model and the xdeep-demo-classification file to create the classification model. Keep the default settings for the data file properties, while you can experiment with the available activation functions, e.g. starting with Xdeep NLU or Tanh.