Xdeep operates with CSV data files, where CSV stands for comma-delimited values. These are text files organised in rows and columns. Each data point is represented by a single row, while the values of the variables included in the data point are separated by a delimiter character, commonly a comma (,). Xdeep additionally supports the usage of the semicolon (;) and the space character. In any case, however, the data file should have .csv extension to be acceptable by Xdeep.

To upload your files in Xdeep, you carry out the following steps:
Select the cloud storage icon from the Xdeep Console sidebar ①. This opens the cloud storage management view, divided in two panels. The left-hand panel shows folders and files from your local storage; the right-hand panel shows the data files already uploaded in your Xdeep cloud. In the middle, the two buttons for transferring data between the two storages are located ②.
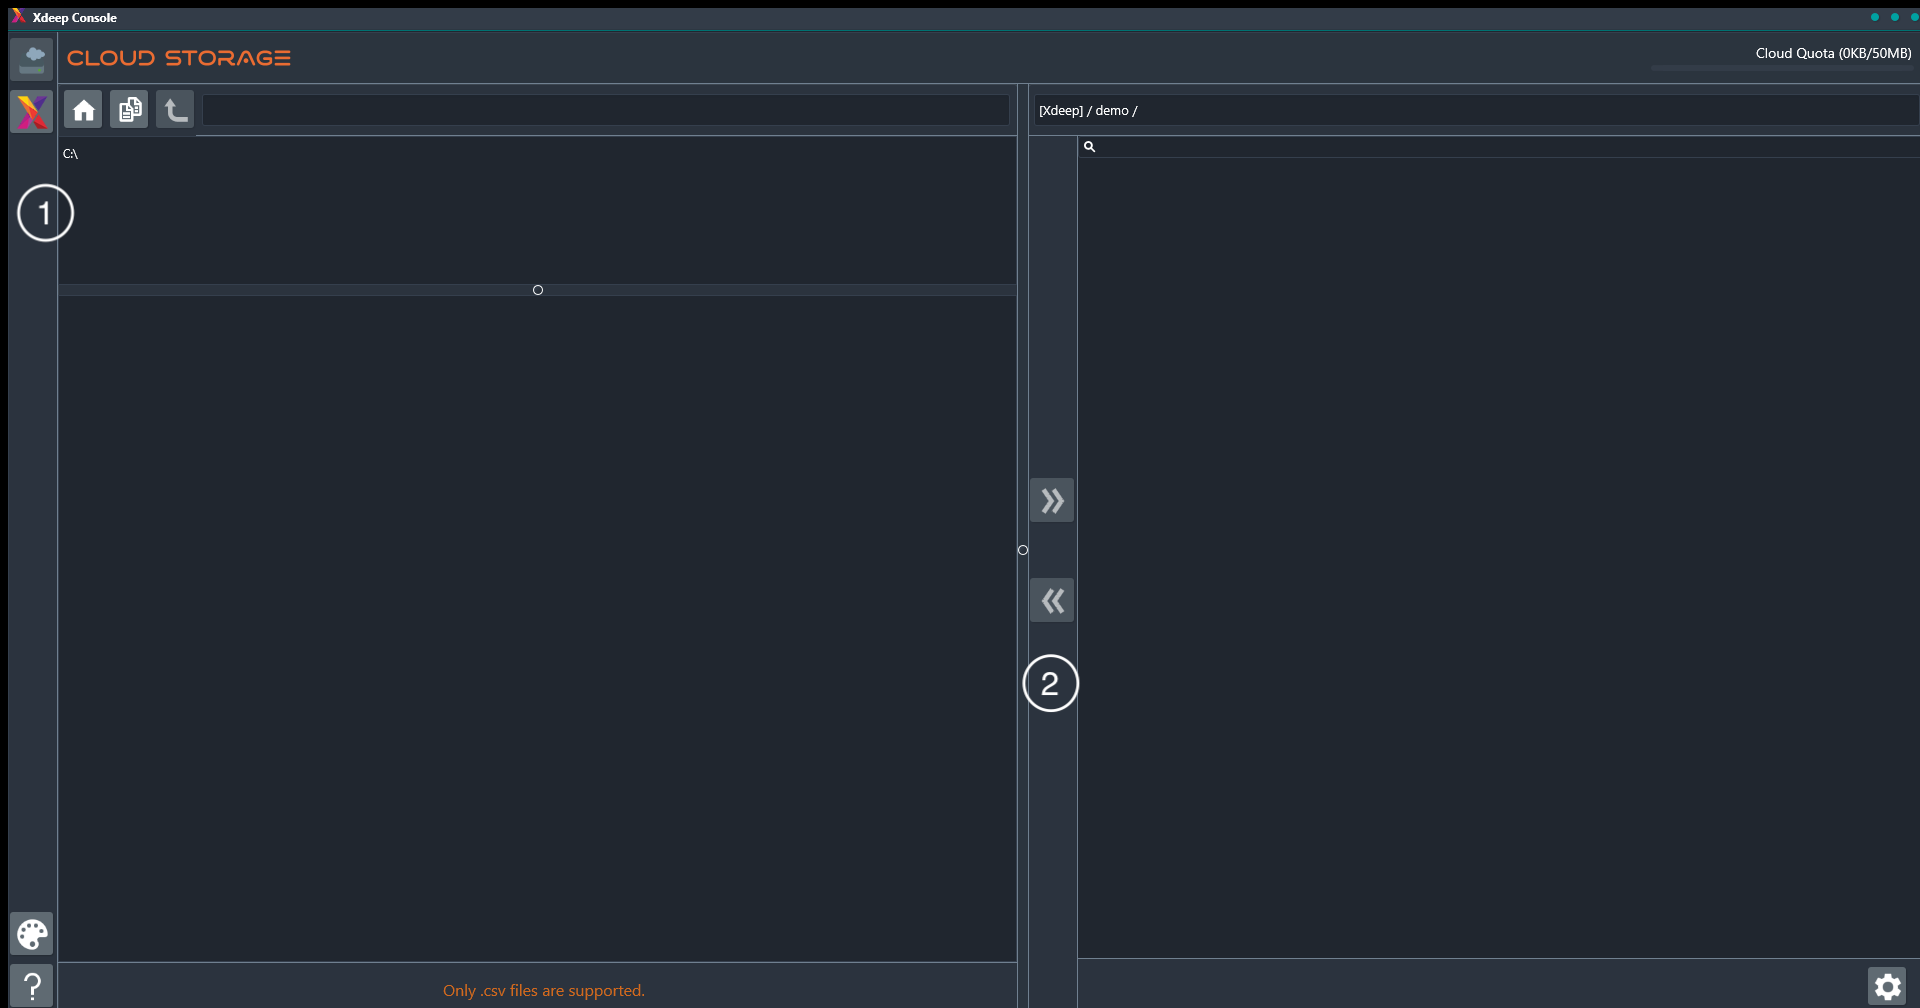
On the left-hand panel, navigate to the folder where your data files are located locally.
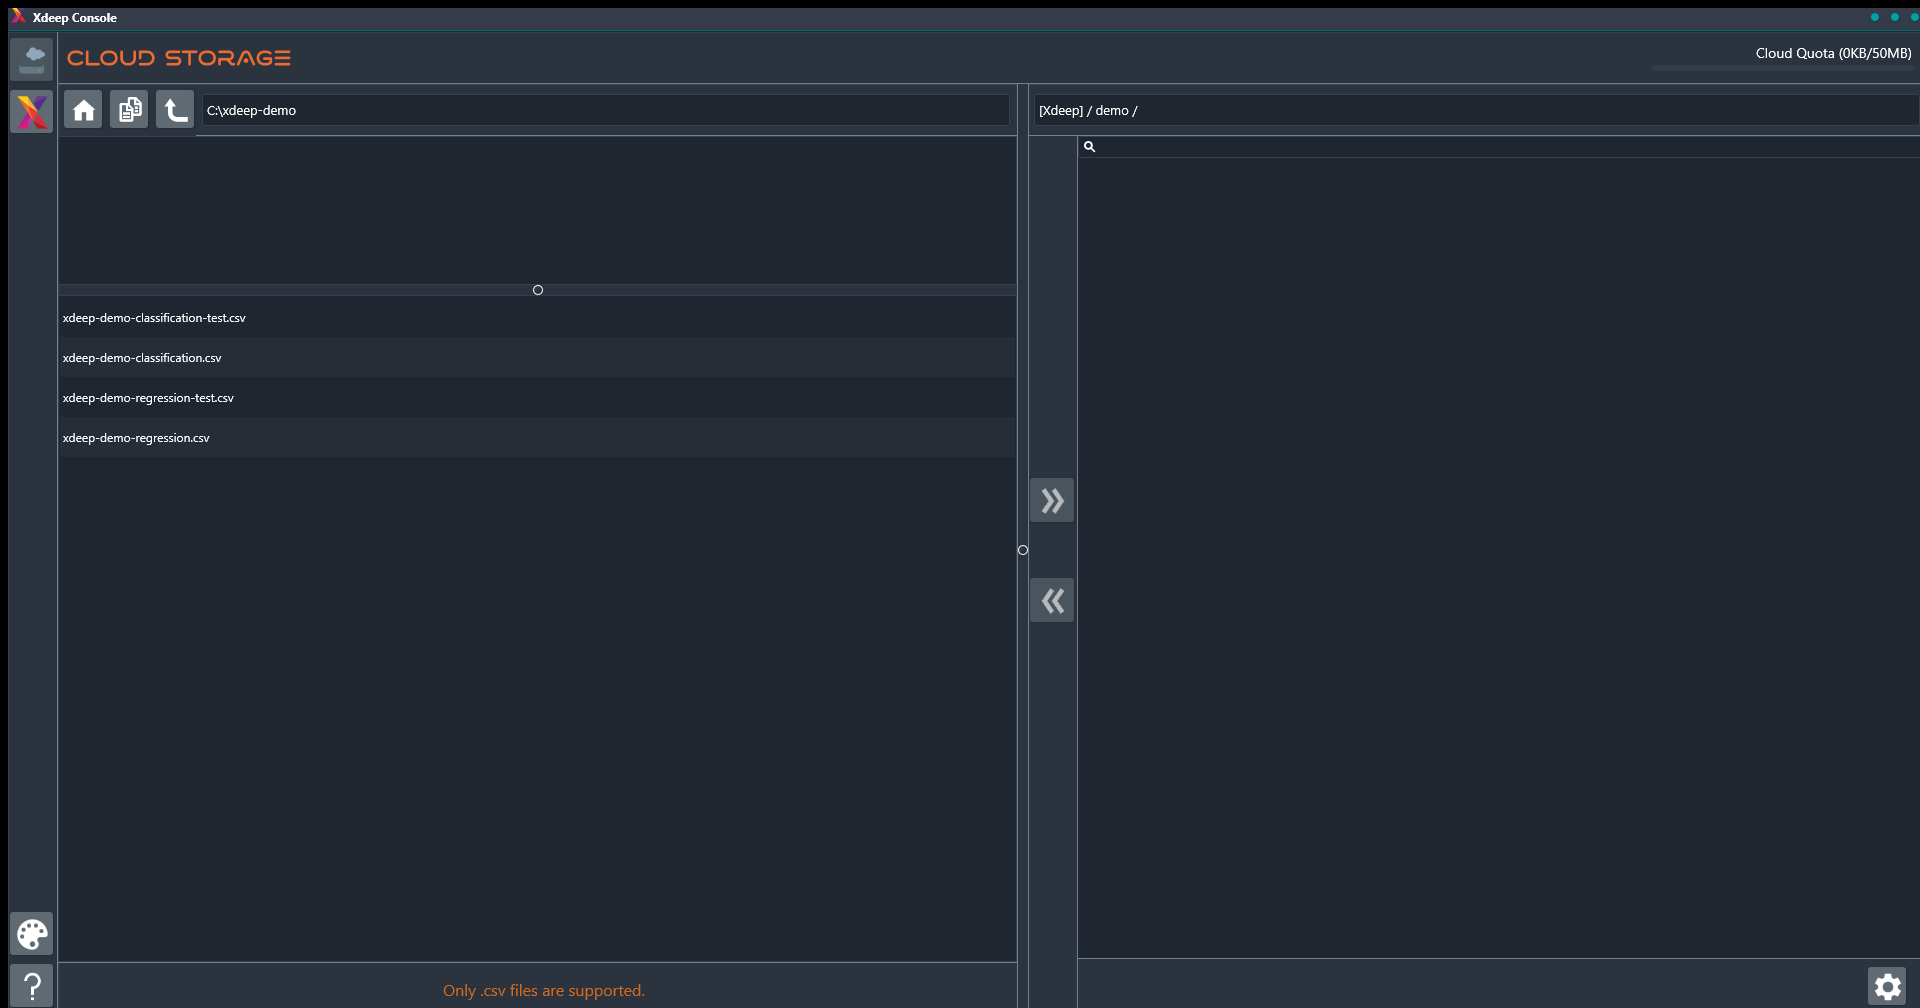
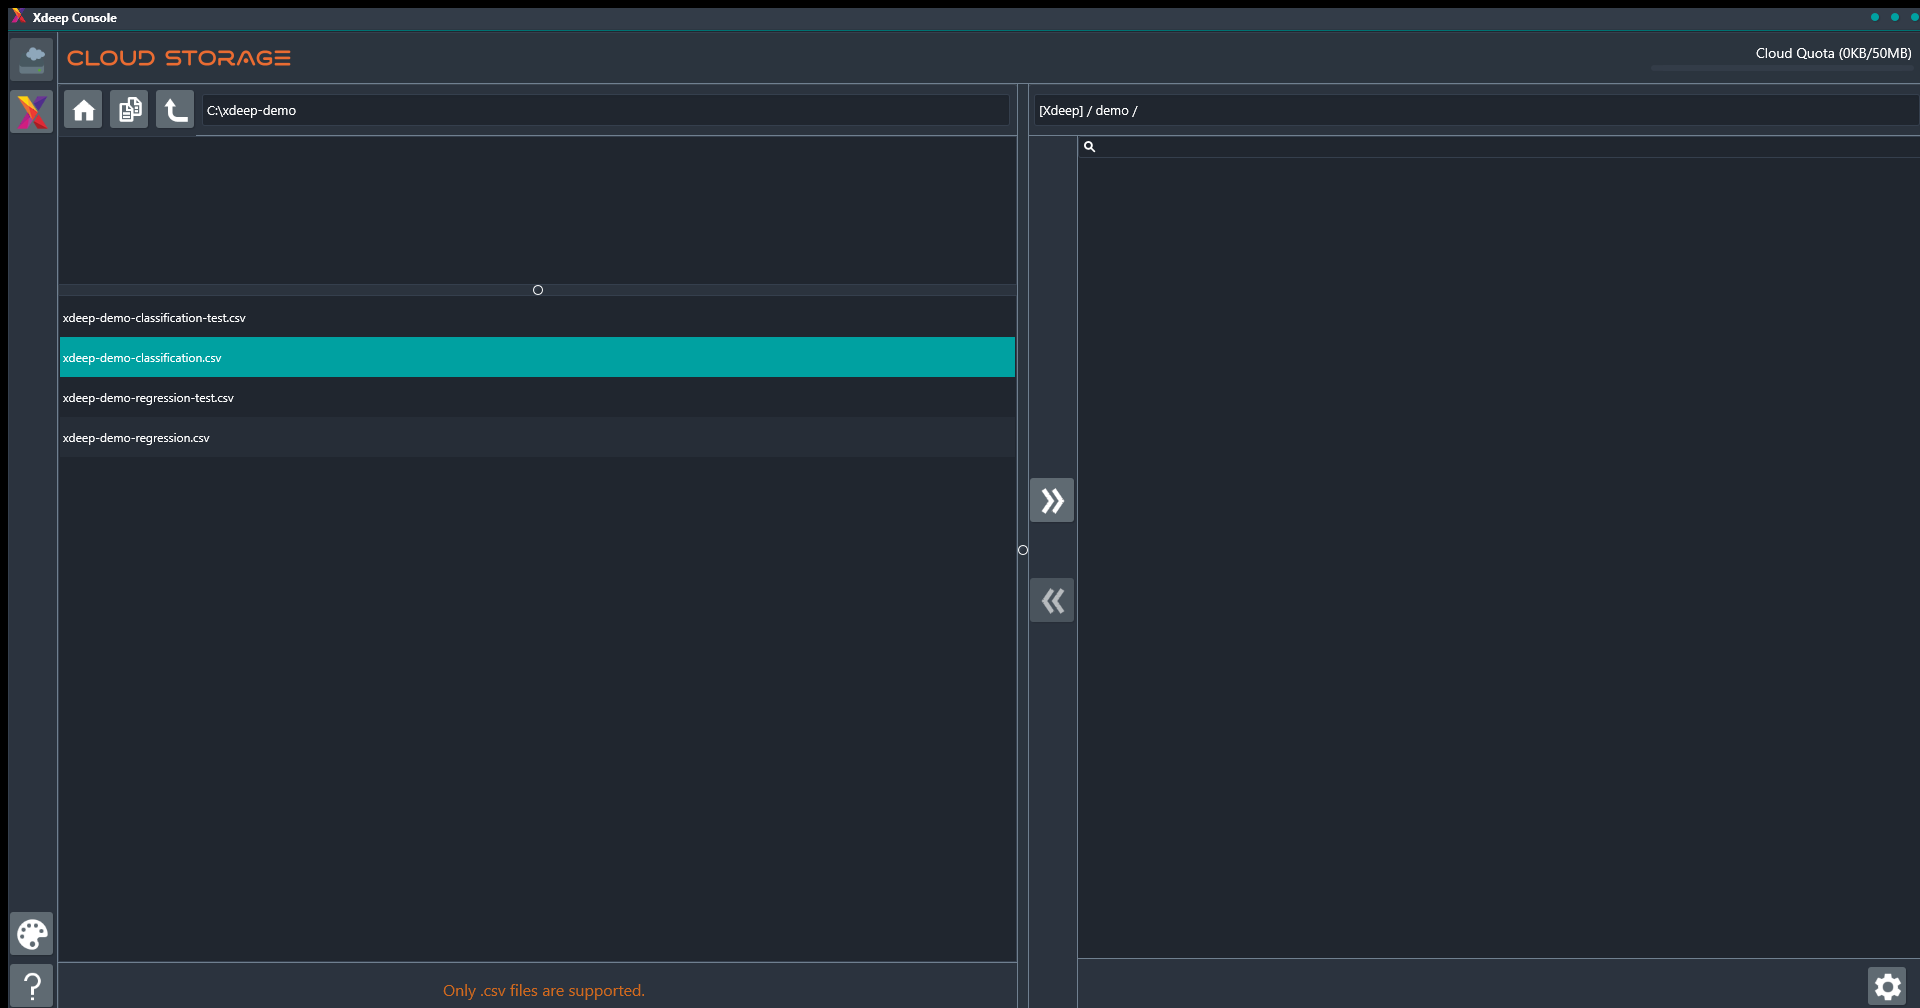
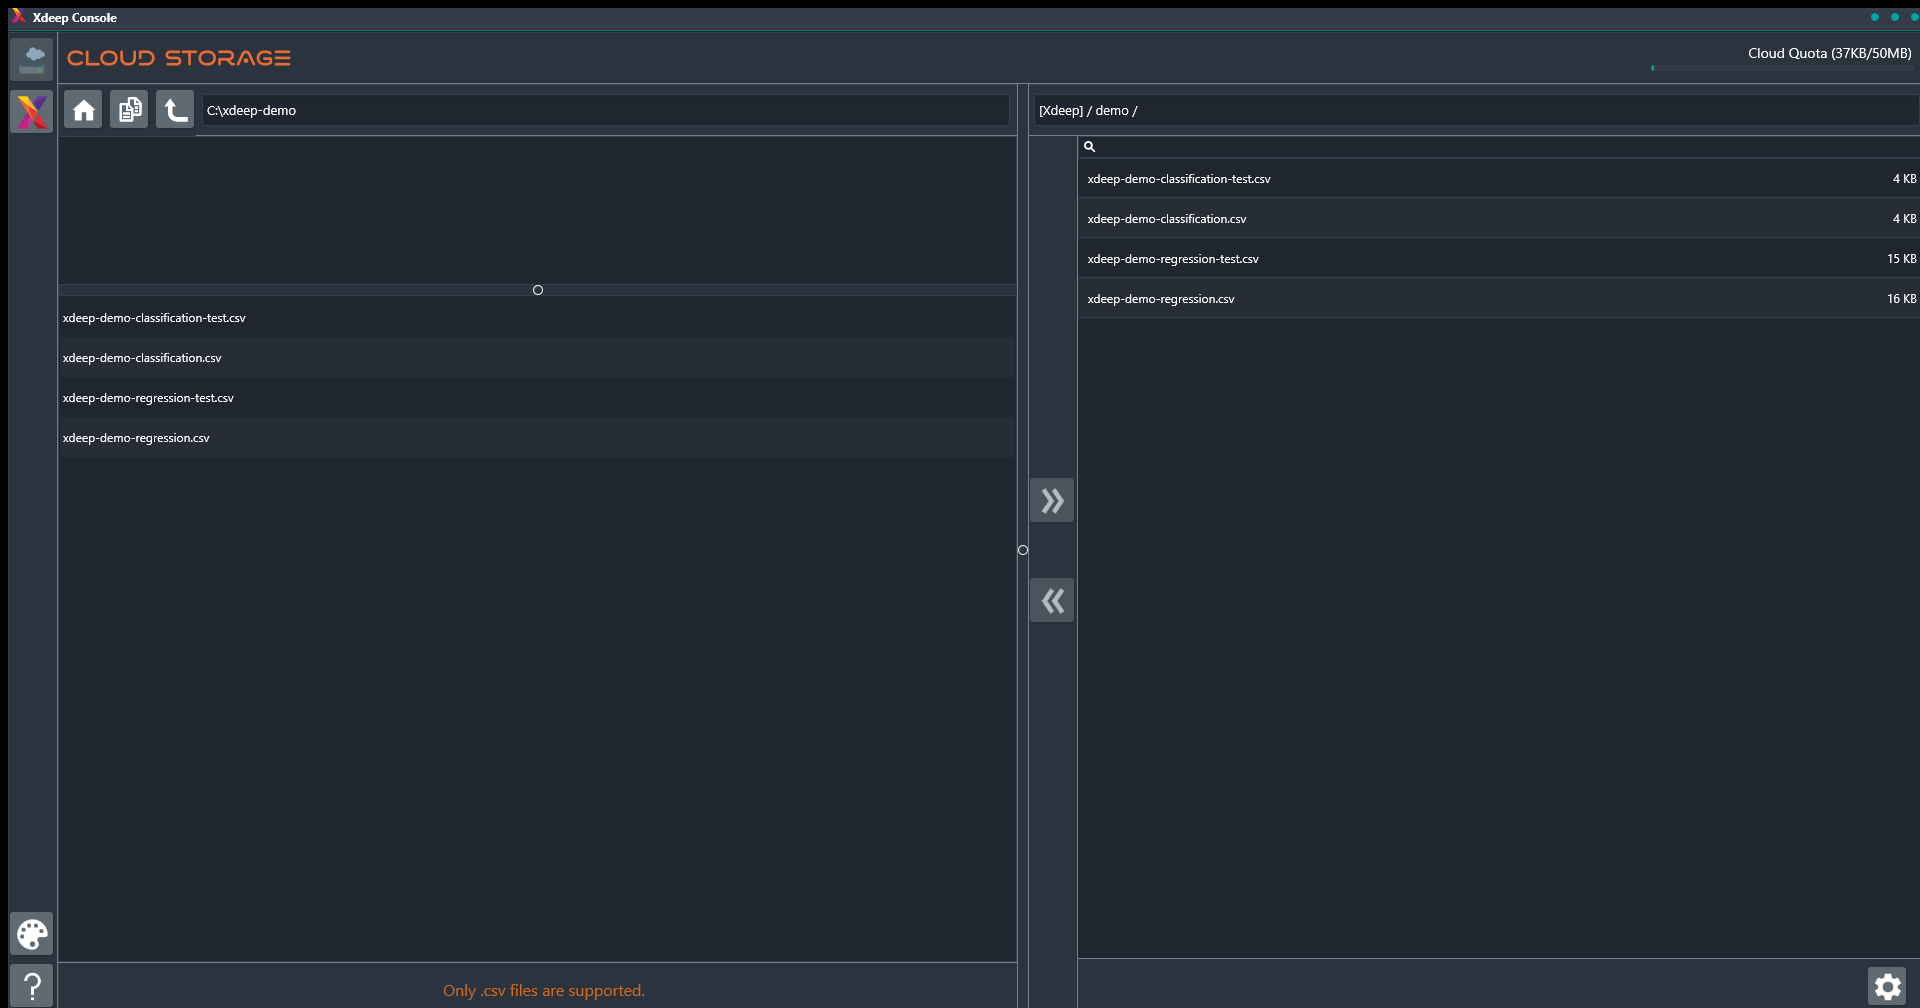
Select the file that you want to upload. The upload button is activated and when clicked the upload initiates. The file is then shown in the right hand panel.
That's it! Your file is now in Xdeep, ready to be used for building or validating your model.
To help you find your way in Xdeep Console, we have prepared four data files that you can use for going through the steps described in the How-to Guides. The data files contain sample data points from a real-world application and include:
A data file for training a regression model (found here).
A data file for testing the regression model (found here).
A data file for training a classification model (found here).
A data file for testing the classification model (found here).
You can download them in your computer and go through the described process to upload them in Xdeep cloud and start your experimentation.